How to Wire an Electric Hoist: Complete Installation Guide
Understanding how to wire an electric hoist correctly is essential for safe and efficient operation. This comprehensive guide covers everything from basic wiring principles to advanced installation techniques for your hoisting equipment.
Understanding Electric Hoist Wiring Basics
Before diving into how to wire an electric hoist, it's crucial to understand the fundamental components and safety requirements. Electric hoists require proper electrical connections to function safely and efficiently, making correct wiring absolutely essential.
Key Components for Hoist Wiring
Every electric hoist installation involves several critical components:
- Power supply cable - Connects main power to the hoist
- Control pendant or remote - Allows operator control
- Contactors and relays - Switch high-current loads
- Limit switches - Prevent over-travel
- Emergency stop button - Safety shutdown mechanism
- Motor connections - Three-phase or single-phase power
Safety Precautions Before Wiring
When learning how to wire an electric hoist, safety must be your top priority. Follow these essential safety measures:
⚠️ Warning: Always disconnect power before beginning any wiring work. Verify power is off using a voltage tester.
- Shut off main power at the circuit breaker
- Lock out and tag out the electrical panel
- Wear appropriate PPE including insulated gloves
- Have a qualified electrician inspect your work
- Follow local electrical codes and regulations
Step-by-Step Wiring Process
Step 1: Determine Power Requirements
First, check your hoist's voltage requirements. Most electric hoists operate on:
- Single-phase: 110V or 220V (lighter duty applications)
- Three-phase: 220V, 380V, or 440V (industrial applications)
Step 2: Install the Power Supply
Run appropriately sized power cables from your electrical panel to the hoist location. Cable gauge depends on:
- Motor amperage rating
- Cable run length
- Voltage drop calculations
Step 3: Connect the Control Circuit
The control circuit typically includes:
Power Source → Main Breaker → Contactor → Motor
                    ↓
            Control Transformer
                    ↓
            Pendant/Remote Control
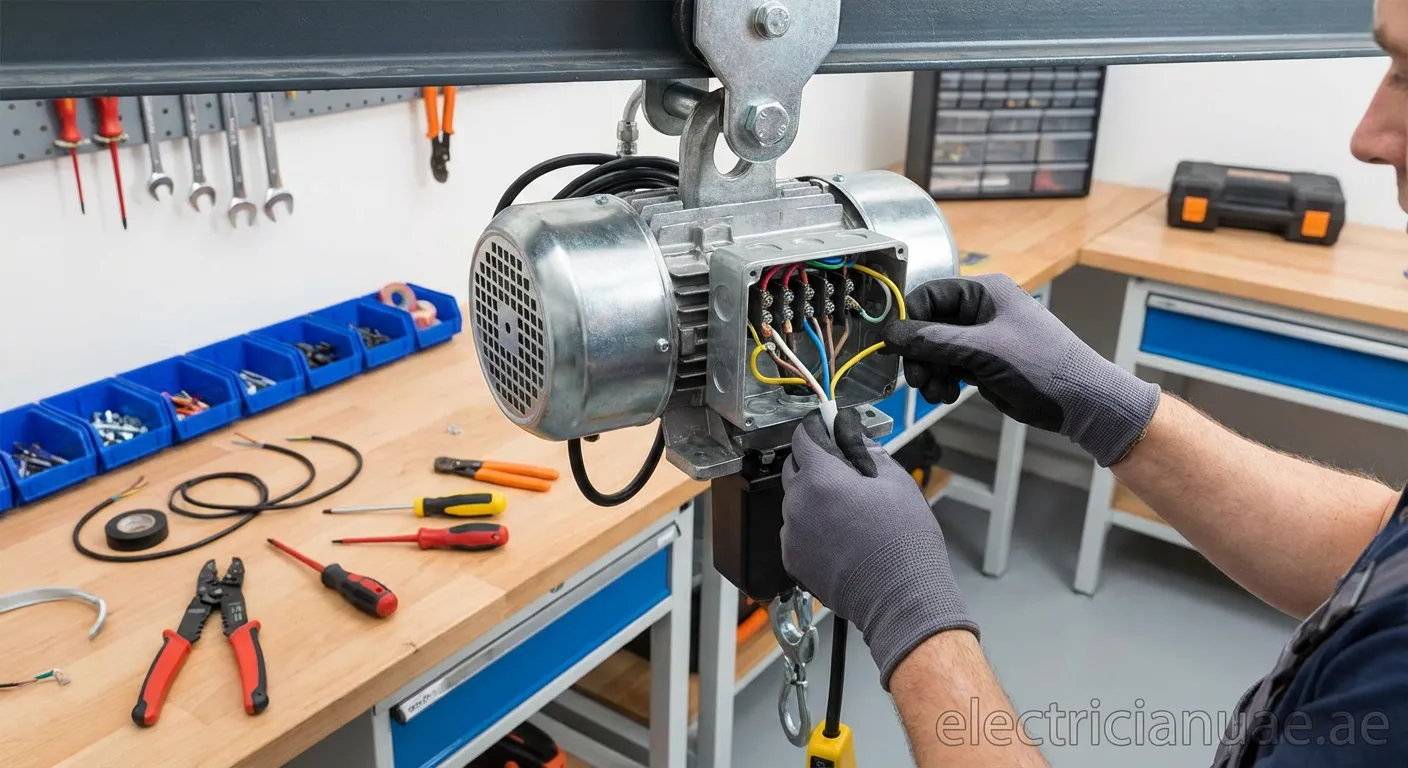
Step 4: Wire the Motor Connections
For three-phase motors, connect the three power leads (L1, L2, L3) to the corresponding motor terminals. Ensure proper phase rotation for correct hoist direction.
Step 5: Install Safety Devices
How to wire an electric hoist safely requires integrating multiple safety components:
- Emergency stop: Wired in series with the control circuit
- Upper limit switch: Prevents over-hoisting
- Lower limit switch: Prevents cable over-release
- Thermal overload protection: Protects against motor overheating
Common Wiring Configurations
Single-Speed Hoist Wiring
Single-speed hoists have simpler wiring with:
- One contactor for up direction
- One contactor for down direction
- Basic control pendant with up/down buttons
Variable Speed Hoist Wiring
Variable speed hoists require:
- Variable frequency drive (VFD)
- More complex control wiring
- Speed control potentiometer or digital interface
Troubleshooting Common Wiring Issues
When problems arise after completing how to wire an electric hoist procedures, check these common issues:
| Problem | Possible Cause | Solution |
|---|---|---|
| Hoist won't start | Blown fuse or tripped breaker | Check power supply |
| Wrong direction | Phase reversal | Swap two phase wires |
| Intermittent operation | Loose connections | Tighten all terminals |
| Contactor chattering | Low control voltage | Check transformer output |
Maintenance Tips for Hoist Wiring
Regular maintenance ensures safe operation:
- Inspect cables monthly for damage or wear
- Check connections quarterly for tightness
- Test safety devices before each shift
- Clean control panels to prevent dust buildup
- Document all maintenance in a log book
Professional Installation vs. DIY
While understanding how to wire an electric hoist is valuable, consider these factors:
Professional installation benefits:
- Guaranteed code compliance
- Proper warranty validation
- Insurance coverage maintained
- Expert troubleshooting available
DIY considerations:
- Must have electrical knowledge
- Requires proper tools and equipment
- May void manufacturer warranty
- Personal liability for safety issues
Get Professional Hoist Wiring Help
Mastering how to wire an electric hoist requires careful attention to safety and proper technique. If you need professional assistance with electrical installations, our experts are here to help. We also offer comprehensive services in Al Warqa 1 - visit Electrical-services Al Warqa 1 for reliable support with all your electrical hoist wiring needs.