


 Irrigation Systems
How to Automate Your Garden Irrigation Pump: Complete Guide
 James Wilson
 Jun 28, 2026
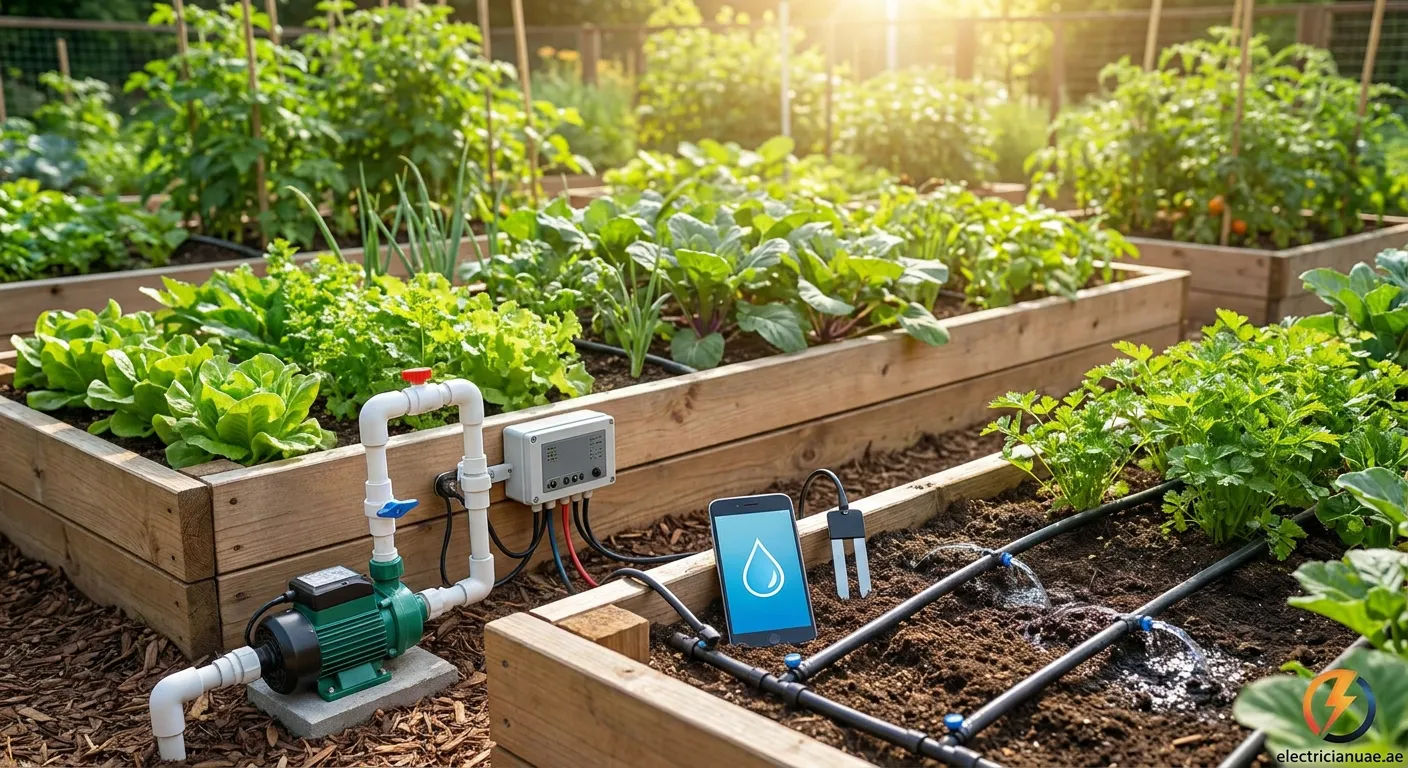
Discover how to automate your garden irrigation pump to save time, conserve water, and maintain a lush landscape effortlessly throughout the growing season.
Why Automate Your Irrigation Pump?
Automating your garden irrigation pump offers numerous benefits for modern homeowners. First, it eliminates the need for manual operation, saving valuable time and effort. Second, automated systems deliver precise water amounts at optimal times, promoting healthier plant growth and reducing water waste by up to 50%.
Key Benefits of Pump Automation
- Water conservation: Smart systems adjust based on weather conditions
- Cost savings: Reduce water bills significantly over time
- Convenience: Set schedules once and forget about daily watering
- Plant health: Consistent watering promotes stronger root systems
- Remote control: Monitor and adjust from anywhere via smartphone
Essential Components You'll Need
When learning how to automate your garden irrigation pump, understanding the necessary components is crucial. Your automation system requires several key elements working together seamlessly.
Timer or Controller
The heart of any automated system is a reliable timer or controller. Options range from simple mechanical timers to sophisticated smart controllers with Wi-Fi connectivity. Choose based on your garden's complexity and your technical comfort level.
Solenoid Valves
Solenoid valves control water flow to different zones in your garden. These electrically-operated valves open and close based on signals from your controller, directing water exactly where and when needed.
Sensors and Accessories
Modern automation incorporates various sensors:
- Rain sensors: Prevent unnecessary watering during rainfall
- Soil moisture sensors: Measure ground moisture levels accurately
- Flow sensors: Detect leaks and monitor water usage
Step-by-Step Installation Process
Understanding how to automate your garden irrigation pump involves following a systematic installation approach.
Step 1: Assess Your System
Before installation, evaluate your current setup:
- Check pump specifications and electrical requirements
- Map out irrigation zones and water needs
- Identify optimal sensor placement locations
- Ensure adequate electrical supply near the pump
Step 2: Install the Controller
Mount your controller in a protected location with easy access. For outdoor installations, use weatherproof enclosures. Connect the controller to a reliable power source and ensure Wi-Fi coverage if using smart controllers.
Step 3: Wire Solenoid Valves
Connect solenoid valves to irrigation lines in each zone. Run wiring from valves back to the controller using direct burial cable rated for underground use. Follow manufacturer specifications for wire gauge and connection methods.
Pro Tip: Label all wires clearly during installation to simplify future troubleshooting and maintenance.
Step 4: Install Sensors
Position sensors strategically throughout your garden:
- Place rain sensors in open areas away from tree cover
- Install soil moisture sensors at root level in representative locations
- Mount flow sensors near the main water supply line
Programming Your Automated System
Once hardware is installed, proper programming ensures optimal performance when you automate your garden irrigation pump.
Setting Watering Schedules
Consider these factors when programming:
- Time of day: Early morning reduces evaporation loss
- Duration: Match watering time to plant needs and soil type
- Frequency: Adjust based on seasonal requirements
- Zone-specific needs: Different plants require different amounts
Smart Features Integration
Modern controllers offer advanced features:
- Weather-based adjustments automatically modify schedules
- Remote access allows real-time changes via smartphone apps
- Historical data tracking helps optimize water usage over time
- Integration with home automation systems creates unified control
Maintenance and Troubleshooting Tips
Regular maintenance keeps your automated system running efficiently year after year.
Seasonal Maintenance Checklist
- Inspect all valves and connections monthly during growing season
- Clean filters and screens quarterly
- Test backup batteries before each season
- Update controller firmware regularly if applicable
- Winterize system before freezing temperatures arrive
Common Issues and Solutions
When problems arise with your automated irrigation:
- Pump won't start: Check power supply and timer settings
- Uneven watering: Inspect valve operation and sprinkler heads
- High water bills: Verify sensor functionality and check for leaks
- Controller errors: Reset device and verify sensor connections
Start Your Automation Journey
Automating your garden irrigation system saves time, water, and ensures healthy plant growth. For professional installation and maintenance services, visit Light-fixing Wadi Al Safa 2. Our experts will help you create the perfect automated irrigation solution for your garden.
 garden irrigation, pump automation, smart watering system
