


 DIY Electrical
How to Install a Ceiling Fan with a Light Kit
 Michael Johnson
 Sep 20, 2026
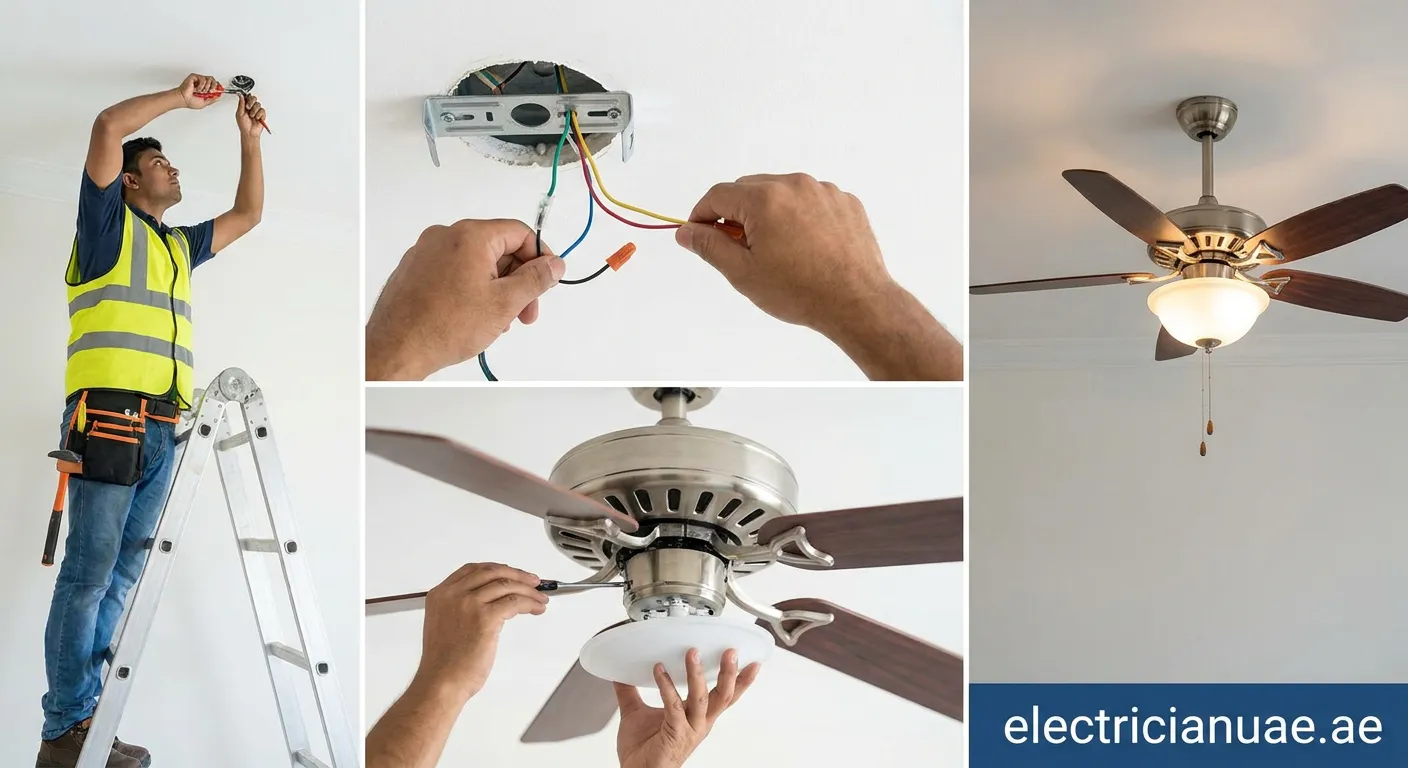
Installing a ceiling fan with a light kit combines comfort and illumination in one efficient fixture. This guide walks you through the entire process, from preparation to final testing, ensuring a safe and successful installation.
Preparing for Installation
Before starting any electrical work, safety must be your top priority. Understanding how to install a ceiling fan with a light kit begins with proper preparation and having the right tools on hand.
Required Tools and Materials
- Screwdriver set (Phillips and flathead)
- Wire strippers and wire nuts
- Voltage tester for safety verification
- Ladder (stable and appropriate height)
- Drill with appropriate bits
- Ceiling fan mounting bracket (usually included)
- Wire connectors and electrical tape
Important: Always turn off power at the circuit breaker before beginning any electrical installation. Never rely solely on the wall switch.
Removing the Existing Fixture
If replacing an old fixture or fan, follow these steps carefully:
- Shut off power at the main electrical panel
- Use a voltage tester to confirm power is off
- Remove the fixture canopy or cover plate
- Disconnect and label all wires
- Remove the old mounting bracket
Checking Your Electrical Box
The ceiling electrical box must be fan-rated to support the weight and movement of a ceiling fan. Standard lighting boxes are not designed for this purpose. If your box isn't fan-rated, replace it with one that is clearly marked for ceiling fan support.
Installing the Mounting Bracket
Secure the fan-rated mounting bracket to the electrical box using the provided screws. The bracket must be:
- Firmly attached to the ceiling joist or fan-rated box
- Level and properly positioned
- Capable of supporting the fan's weight
Wiring the Ceiling Fan with Light Kit
This is where understanding how to install a ceiling fan with a light kit becomes crucial. Most fans with light kits have four wires to connect:
Wire Connections
| Wire Color | Function | Connects To |
|---|---|---|
| Black | Fan motor | Black (hot) |
| Blue/Red | Light kit | Black (hot) |
| White | Neutral | White (neutral) |
| Green/Bare | Ground | Green/bare copper |
Step-by-step wiring process:
- Connect the white neutral wire from the fan to the white wire from the ceiling
- Connect the black fan wire and blue light kit wire to the black hot wire from the ceiling
- Connect the green ground wire to the ground wire in the box
- Secure all connections with wire nuts and wrap with electrical tape
- Carefully tuck wires into the mounting bracket
Installing the Light Kit
Most modern ceiling fans come with the light kit pre-assembled. If not:
- Attach the light kit housing to the fan motor
- Connect the light kit wires following manufacturer instructions
- Install the recommended bulb type and wattage
- Secure the glass shade or light cover
Mounting the Fan Assembly
With wiring complete, proceed with mounting:
- Lift the fan motor to the mounting bracket
- Align the ball joint with the mounting bracket socket
- Rotate until the ball seats securely
- Install the canopy cover to conceal wiring
Balancing the Fan Blades
After installation, check for wobble or imbalance:
- Attach all blades securely
- Use a balancing kit if needed
- Test each blade for even spacing
- Adjust blade holders if necessary
Testing Your Installation
Before finishing:
- Restore power at the circuit breaker
- Test the fan operation at all speeds
- Verify the light kit functions properly
- Check for any unusual sounds or movement
- Install the remote control or wall switch if applicable
Common Mistakes to Avoid
- Using non-fan-rated electrical boxes
- Skipping the ground wire connection
- Overloading the light kit with wrong bulb wattage
- Not securing wire nuts properly
- Installing blades too close to walls or obstacles
Final Steps and Testing
Once your ceiling fan with light kit is installed and tested, you can enjoy improved comfort and illumination in your space. For complex installations or if you need professional help, our Lighting-installation Khor Khwair team offers expert services. Contact us today!
 ceiling fan installation, light kit, DIY electrical, home improvement, fan wiring
