


 Electrical Guides
How to Wire a Bathroom Extractor Fan with Timer
 David Miller
 Nov 04, 2026
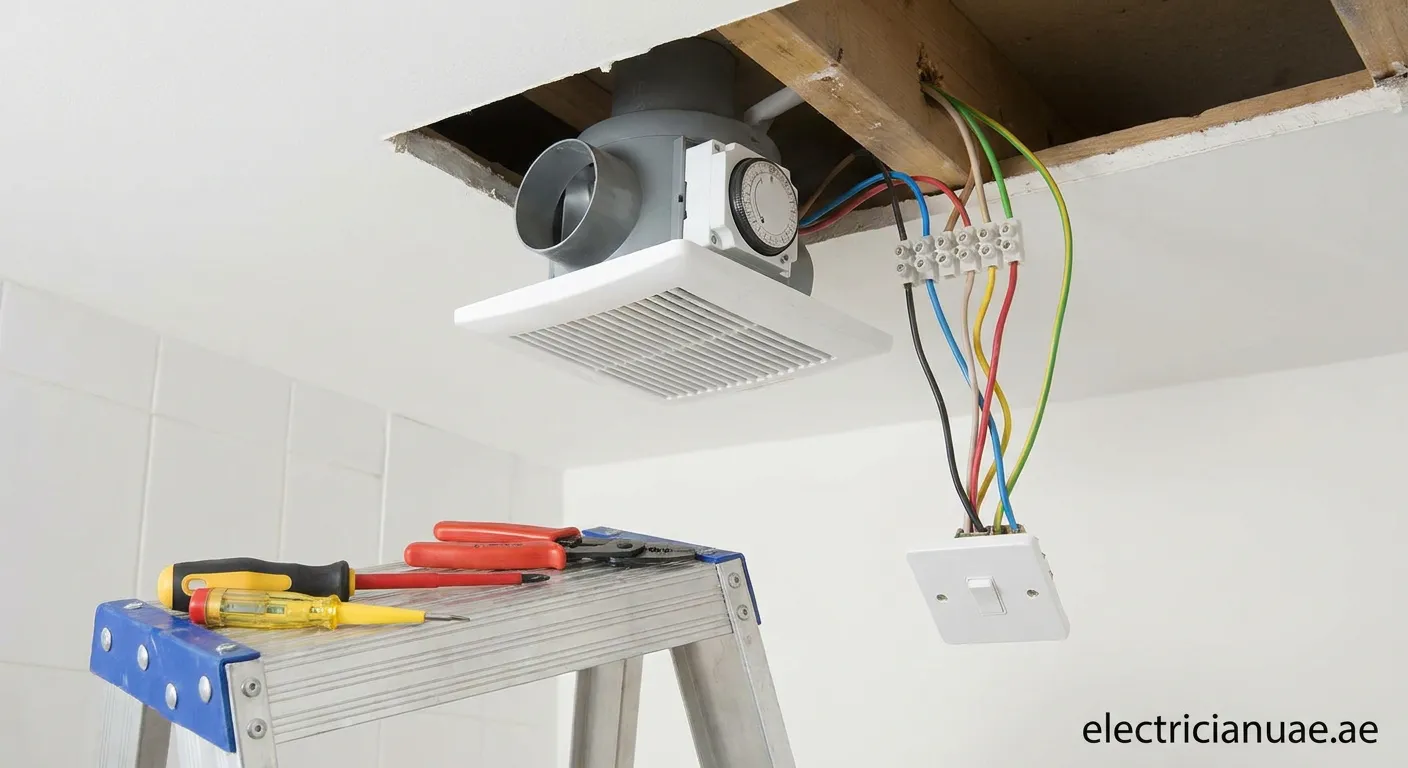
Struggling with bathroom humidity and moisture? Discover how to wire a bathroom extractor fan with timer correctly to keep your air fresh, prevent mold, and ensure home safety.
Understanding the Requirements for a Timed Fan
Proper ventilation in wet rooms is essential to eliminate excess steam, humidity, and odors. When learning how to wire a bathroom extractor fan with timer, you need to understand that timed models differ from standard on/off models. A timer fan requires a permanent live feed to run after the room lights are switched off, plus a switched live trigger from the lighting circuit.
Essential Components and Wiring Cables
Before starting the installation, ensure you have the correct materials compliant with local building regulations:
- 3-Core and Earth Cable: Connects the 3-pole isolator switch to the extractor fan unit (Permanent Live, Switched Live, Neutral, Earth).
- Twin and Earth Cable: Feeds power from the lighting circuit to the isolator.
- 3-Pole Isolator Switch: Mandated by electrical safety standards to safely isolate all live and neutral conductors for maintenance.
- Voltage Tester: To verify zero voltage before touching any wires.
Step-by-Step Guide: How to Wire a Bathroom Extractor Fan with Timer
1. Isolate the Power Supply
Safety always comes first. Turn off the relevant lighting and power circuits at the consumer unit (fuse box). Use a reliable voltage indicator to verify that the lighting circuit is completely dead before disconnecting or stripping any wires.
2. Wire the 3-Pole Isolator Switch
Mount the fan isolator switch outside the bathroom or high on the wall:
- Connect the Permanent Live (L1) from the lighting loop to the supply side.
- Connect the Switched Live (L2) from the light switch to the supply side.
- Terminate the Neutral (N) conductors into the respective neutral terminal.
- Sleeved Earth wires must be firmly connected to the earth terminal block.
Important Note: Never connect switched live directly into the permanent live terminal, as the overrun function will either run continuously or fail to operate at all.
3. Connect the Fan Terminals
Run your 3-core and earth cable from the isolator switch to the extractor fan housing:
- Terminal L (Permanent Live): Wire with brown core to maintain continuous power for the internal timer module.
- Terminal SL or LT (Switched Live): Connect the switched live wire triggered by the bathroom light switch.
- Terminal N (Neutral): Connect the blue neutral wire.
- Earth: Secure to the earth parking terminal (many fans are Class II double-insulated).
Adjusting the Overrun Timer and Final Checks
Once the wiring is complete, locate the potentiometer on the fan circuit board. This dial controls how long the fan stays active after you turn off the light—typically adjustable between 1 and 30 minutes. Restore power at the consumer unit. Turn on the bathroom light to confirm the fan triggers immediately. Switch the light off and verify that the fan continues running for your preset duration before shutting down automatically. Knowing how to wire a bathroom extractor fan with timer ensures proper moisture control and electrical safety.
Safe Fan Installation & Support
Proper ventilation protects your home from dampness. If you face wiring difficulties, our Emergency-electrician Sheikh Khalifa City team is ready to inspect, repair, and install all bathroom electrical units safely.
 extractor fan wiring, bathroom fan timer, electrical guide, home DIY wiring
