


 Electrical Wiring
How to Wire a CPAP Machine Outlet: Complete Guide
 Michael Roberts
 Aug 02, 2026
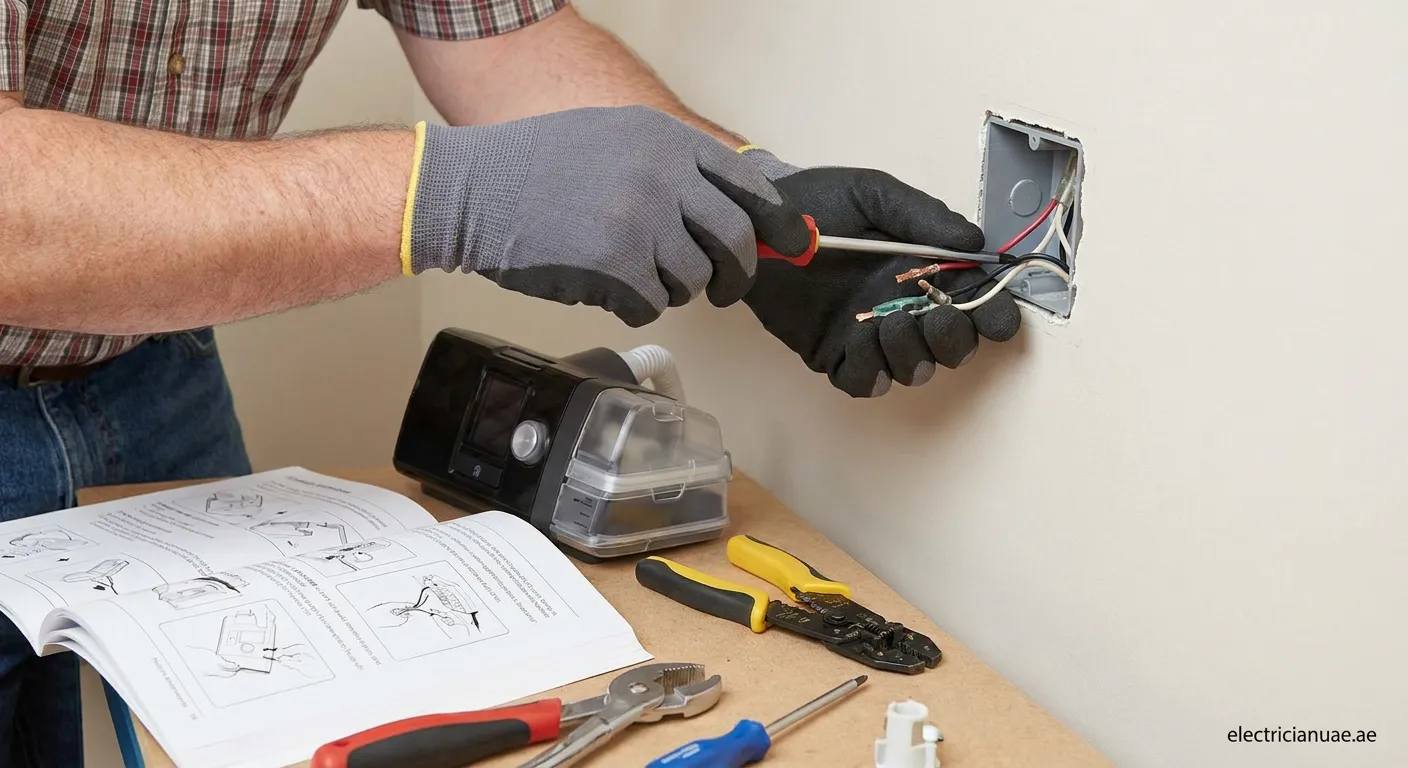
Installing a dedicated outlet for your CPAP machine ensures safe, reliable operation during sleep therapy. Understanding how to wire a CPAP machine outlet properly prevents electrical hazards and protects expensive medical equipment.
How to Wire a CPAP Machine Outlet properly starts with understanding why dedicated circuits matter for medical equipment.
Why You Need a Dedicated Circuit
CPAP machines require stable, consistent power to function correctly throughout the night. Sharing an outlet with other appliances can cause:
- Voltage fluctuations affecting therapy quality
- Circuit breaker trips disrupting sleep
- Potential fire hazards from overloaded circuits
A dedicated 15-20 amp circuit ensures your CPAP operates safely and reliably.
Required Tools and Materials
Before beginning the wiring process, gather these essentials:
Tools:
- Voltage tester
- Wire strippers
- Screwdrivers (flathead and Phillips)
- Fish tape or wire puller
- Drill with appropriate bits
Materials:
- 14-gauge or 12-gauge NM cable (Romex)
- Single-gang electrical box
- 15 or 20 amp receptacle outlet
- Matching circuit breaker
- Cable staples
Step-by-Step Installation Guide
Step 1: Turn Off Power and Verify Safety
⚠️ Critical Safety Warning: Never work on electrical systems without confirming power is completely off.
Locate your main electrical panel and shut off the power to the work area. Use a voltage tester to verify no current flows to existing outlets.
Step 2: Plan the Circuit Route
When learning how to wire a CPAP machine outlet, planning matters most:
- Measure the distance from panel to outlet location
- Add 10-15% extra length for connections
- Plan paths through studs, joists, or crawl spaces
- Avoid running cables parallel to plumbing pipes
Step 3: Install the Electrical Box
Cut an opening in the drywall at your chosen location using a single-gang box template:
Standard box height: 12" from floor to bottom of box
Secure the box firmly using mounting brackets or nails.
Step 4: Run the Cable
Feed your NM cable from the panel to the new box location:
- Use fish tape for longer runs through walls
- Staple cables every 4 feet maximum
- Maintain at least 1¼" clearance from stud faces
- Leave 6-8" of extra cable at each end
Step 5: Make Electrical Connections
Strip approximately ¾" of insulation from each wire end:
At the receptacle:
- Connect black (hot) wire to brass terminal
- Connect white (neutral) wire to silver terminal
- Connect bare copper (ground) wire to green grounding screw
- Fold wires neatly and secure receptacle in box
- Install cover plate
At the breaker panel:
- Connect black wire to circuit breaker terminal
- Connect white wire to neutral bus bar
- Connect ground wire to ground bus bar
- Snap breaker into correct slot position
Final Safety Reminders
Wiring a CPAP machine outlet requires careful planning and adherence to safety standards. If you're unsure about any step, consult a licensed electrician. Al Ayas offers professional Light-fixing Al Ayas services to help you with all your electrical installation needs.
 CPAP outlet wiring, electrical installation, dedicated circuit
