How to Wire a Stand Mixer Outlet: Complete DIY Guide
A stand mixer requires adequate power delivery through properly installed electrical connections throughout your kitchen workspace area.
Why Your Stand Mixer Needs a Dedicated Outlet
Stand mixers are powerful appliances that draw significant current during operation. Most models require between 325 to 1000 watts, with some professional-grade units demanding even more power during heavy mixing tasks.
Installing a dedicated outlet for your stand mixer offers several benefits:
- Prevents circuit overloads when using multiple kitchen appliances
- Reduces the risk of tripped breakers during operation
- Provides stable voltage for consistent performance
- Meets National Electrical Code (NEC) requirements for kitchen circuits
Understanding Electrical Requirements
Before learning how to wire a stand mixer outlet, you must understand the basic requirements:
Circuit Specifications
Most stand mixers operate on standard 120V circuits. However, the NEC requires:
- At least two 20-amp small appliance branch circuits for kitchens
- GFCI protection for outlets within 6 feet of a sink
- Proper grounding for all kitchen outlets
Tools and Materials Needed
To complete this project, gather:
- Voltage tester or multimeter
- Wire strippers
- Screwdrivers (Phillips and flathead)
- Cable staples
- Electrical tape
- 12-gauge NM cable (for 20-amp circuit)
- GFCI outlet or standard outlet with GFCI breaker protection
- Single-gang electrical box
- Cable clamp connectors
Step-by-Step Guide: How to Wire a Stand Mixer Outlet
Step 1: Plan the Circuit Route
Locate your electrical panel and plan the shortest route to your desired outlet location:
- Identify wall stud locations before cutting
- Check existing wiring paths in walls
- Maintain proper distance from water sources
Step 2: Turn Off Power and Verify
Safety is paramount when working with electricity:
Always turn off the main breaker or specific circuit before beginning work.
Use a voltage tester to confirm zero voltage at all wires before touching anything.
Step 3: Install the Electrical Box
Cut an opening in drywall at your chosen location:
- Trace box outline on wall surface carefully
- Cut along traced lines using appropriate tool
- Secure remodeling box with mounting screws
Step 4: Run Cable from Panel
Feed 12-gauge NM cable from panel to new box:
- Drill holes through studs at least 1¼ inches from edges
- Leave 6 inches slack at each connection point
- Secure cable every 4 feet using approved staples
Step 5: Connect Wires at Panel
At breaker panel:
- Route cable through knockout with proper clamp installed
- Connect black wire securely to 20-amp breaker terminal
- Connect white wire firmly to neutral bus bar
- Attach bare copper ground wire to ground bus bar properly
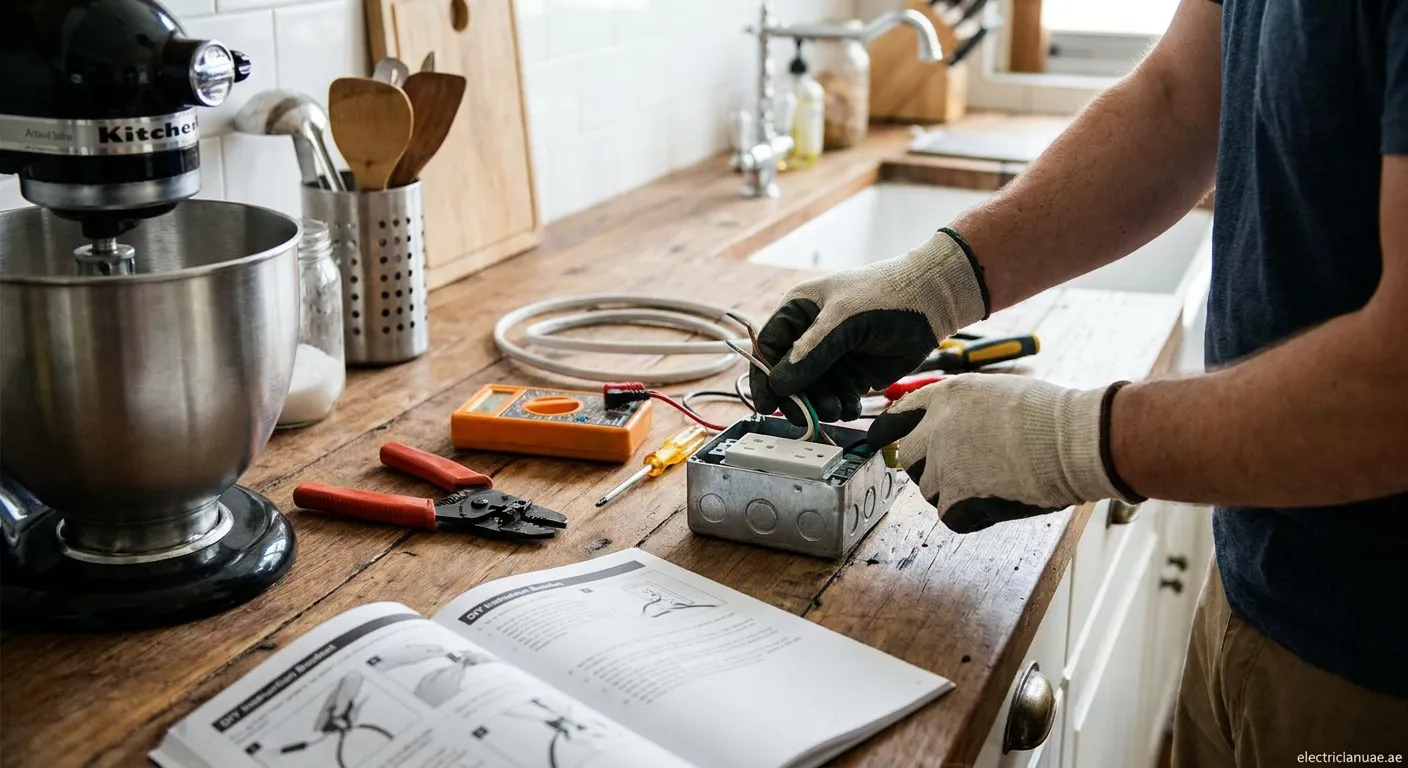
Step 6: Wire Your New Outlet Correctly
Strip ¾ inch insulation from each wire end:
| Wire Color | Connection Point | Terminal Color |
|---|---|---|
| Black | Hot | Brass |
| White | Neutral | Silver |
| Bare | Ground | Green |
For GFCI outlets, connect LINE terminals only if this is an end-of-run installation.
Common Mistakes When Wiring Kitchen Outlets
Learning how to wire a stand mixer outlet involves avoiding these errors:
- Using undersized 14-gauge wire on 20-amp circuits dangerously reduces safety margin significantly.
- Skipping required GFCI protection near sinks violates important NEC codes.
- Reversing hot and neutral connections creates dangerous reverse polarity situation.
Final Thoughts on Wiring Safety
Proper installation ensures years of safe operation for your stand mixer setup, but always prioritize safety when working with electricity! If you encounter any issues or feel uncertain about any step of this process, consider our professional Short-circuit-repair Mileiha service to handle complex electrical work safely.