


 Electrical Installation
How to Install a Motion Sensor in a Closet: Complete Guide
 Michael Thompson
 Sep 23, 2026
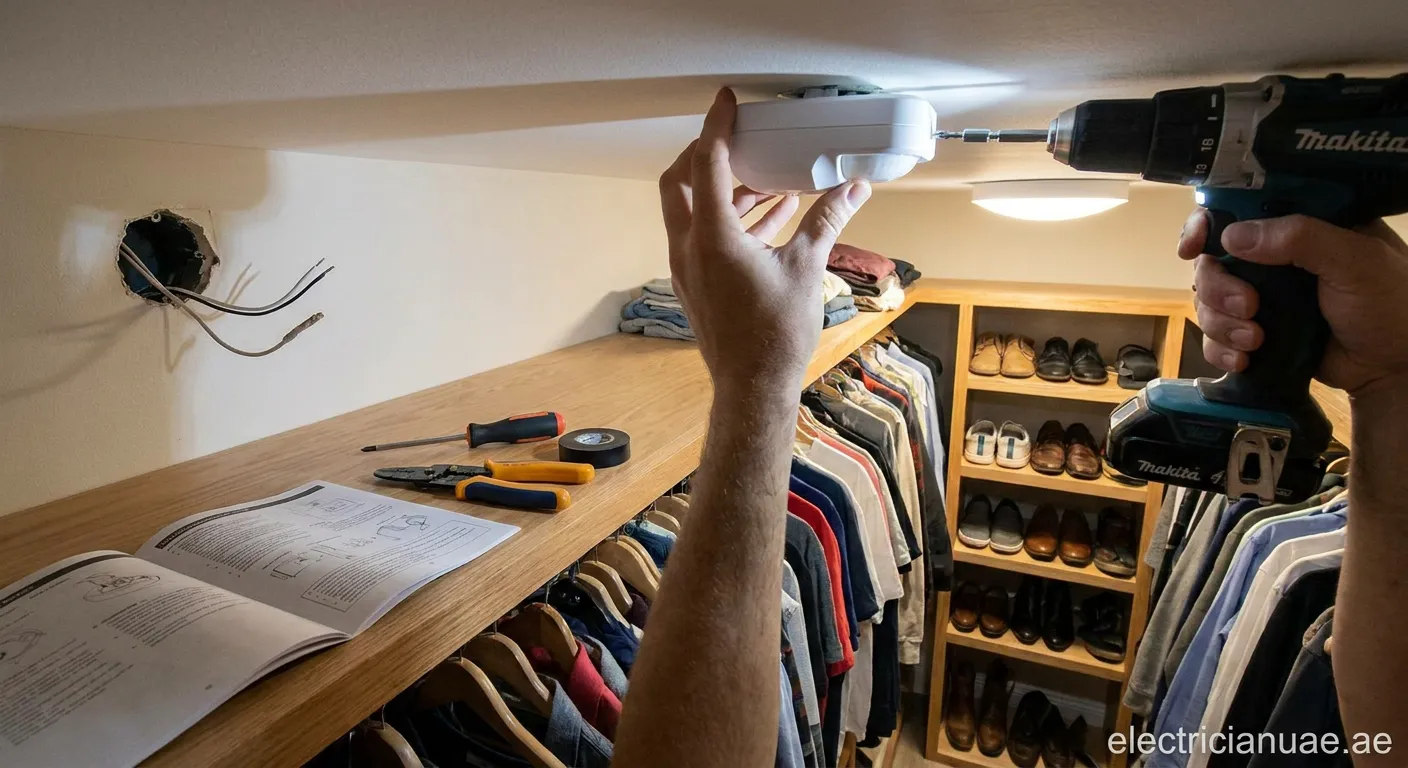
Installing a motion sensor in your closet adds convenience and energy efficiency. This guide walks you through the entire process from planning to final testing.
Why Install a Motion Sensor in Your Closet?
A motion sensor in a closet transforms how you interact with your storage space. No more fumbling for switches with full hands or forgetting to turn off lights. The sensor detects your presence and activates illumination automatically.
Automatic closet lighting offers several key benefits:
- Convenience: Lights turn on when you open the door
- Energy efficiency: No more wasted electricity from forgotten lights
- Extended bulb life: Reduced on-off cycling
- Safety: Better visibility prevents accidents
Types of Motion Sensors for Closets
Before learning how to install a motion sensor in a closet, understand your options:
Occupancy Sensors
These detect movement and turn lights on automatically. They also turn lights off after a set period of no motion detection.
Vacancy Sensors
Require manual activation but automatically turn off when no motion is detected. Ideal for closets where you want control over when lights activate.
Door-Activated Switches
A simpler alternative that triggers when the closet door opens. These work well for smaller closets with single bulb fixtures.
Tools and Materials Needed
Gather these items before starting your motion sensor installation:
Tools:
- Voltage tester
- Wire strippers
- Screwdrivers (flat and Phillips)
- Needle-nose pliers
- Drill with appropriate bits
- Wire nuts or push-in connectors
Materials:
- Motion sensor switch or occupancy sensor
- Electrical tape
- Junction box (if needed)
- Appropriate wiring
Step-by-Step Installation Guide
Step 1: Turn Off Power
Safety first: Locate your electrical panel and turn off the circuit breaker supplying power to the closet light. Use a voltage tester to confirm power is off at the switch location.
Step 2: Remove Existing Switch
Remove the switch plate cover and unscrew the existing switch from the junction box. Carefully pull it out and note the wire connections. Take a photo for reference.
Step 3: Identify Wiring
Typical closet motion sensor wiring involves:
- Hot wire (usually black): Carries power to the switch
- Load wire (usually black or red): Carries power to the light fixture
- Neutral wire (usually white): Required for most modern sensors
- Ground wire (usually green or bare copper)
Step 4: Connect the Motion Sensor
Follow the manufacturer's wiring diagram for your specific sensor. Generally:
- Connect the hot wire to the sensor's LINE terminal
- Connect the load wire to the LOAD terminal
- Connect neutral wires together (white to white)
- Connect ground wires together
Use wire nuts or push-in connectors and wrap with electrical tape for security.
Step 5: Mount and Test
Carefully fold wires into the junction box and mount the motion sensor switch. Attach the cover plate and restore power. Test the sensor by entering the closet and verifying activation.
Optimal Sensor Placement Tips
Proper placement ensures reliable operation:
- Install 48-72 inches from the floor for walk-in closets
- Position sensors away from HVAC vents that might cause false triggers
- Ensure clear line of sight to the closet entrance
- For reach-in closets, place sensors near the door frame
Troubleshooting Common Issues
If your motion sensor installation doesn't work correctly:
- Sensor won't activate: Check wire connections and ensure neutral wire is connected
- False triggers: Adjust sensitivity settings or relocate sensor
- Lights won't turn off: Increase the time delay setting
- Inconsistent operation: Verify all wire connections are secure
Ready to Light Up Your Closet?
Now you know how to install a motion sensor in a closet for convenient, automatic lighting. If you need professional help with electrical work, Remah offers expert Socket-installation Remah services to ensure safe and proper installation.
 motion sensor, closet lighting, DIY installation, electrical wiring, smart home
