


 DIY Electrical
How to Install a USB Wall Socket in Your Kitchen: Complete Guide
 Michael Anderson
 Aug 16, 2026
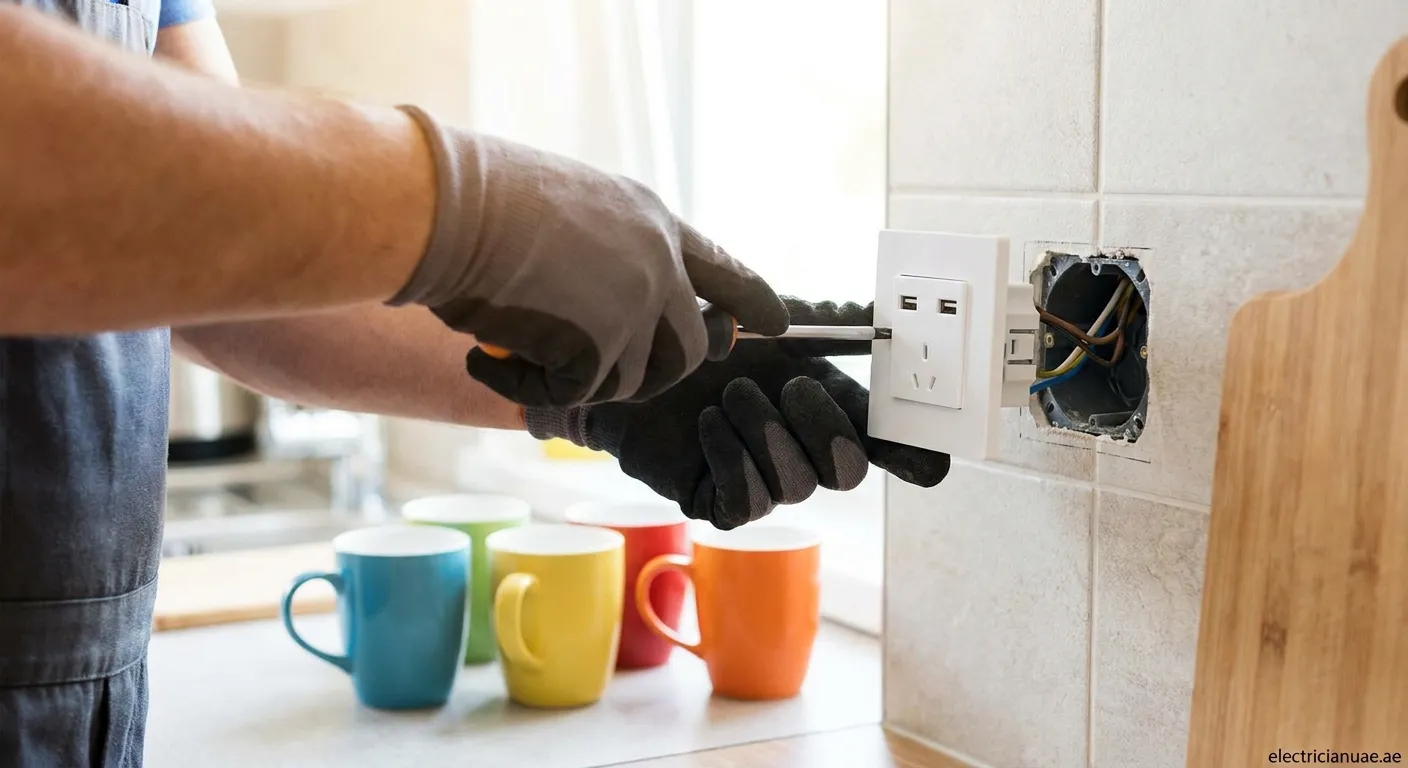
Installing a USB wall socket in your kitchen transforms how you charge devices. This guide walks you through the entire installation process safely and efficiently.
Why Install a USB Wall Socket in Your Kitchen?
Modern kitchens demand modern solutions. A USB wall socket eliminates the need for bulky adapters and provides convenient charging for smartphones, tablets, and other USB-powered devices. Understanding how to install a USB wall socket in the kitchen empowers homeowners to upgrade their space efficiently.
Benefits of Kitchen USB Outlets
- Convenience: Charge devices directly without adapters
- Clean aesthetics: No more cluttered countertops
- Faster charging: Many models offer 2.4A or higher output
- Modern appeal: Adds value to your home
Tools and Materials Required
Before starting your installation, gather these essential items:
Tools:
- Voltage tester (non-contact)
- Screwdriver set (Phillips and flathead)
- Wire strippers
- Needle-nose pliers
- Electrical tape
- Flashlight
Materials:
- USB wall socket outlet
- Electrical wire nuts (if needed)
- Replacement wall plate
Safety Warning: Always turn off power at the circuit breaker before working with electrical outlets. Never rely solely on the wall switch.
Step-by-Step Installation Guide
Step 1: Turn Off the Power
Locate your electrical panel and switch off the circuit controlling your kitchen outlets. Use a voltage tester to confirm the power is completely off. This crucial safety step prevents electrical shock.
Step 2: Remove the Existing Outlet
Unscrew the wall plate and remove the mounting screws holding the outlet. Gently pull the outlet from the box, exposing the wires. Take a photo of the wiring configuration for reference.
Step 3: Disconnect the Wires
Loosen the terminal screws and disconnect the wires:
- Black wire (hot)
- White wire (neutral)
- Green or bare wire (ground)
Step 4: Connect the New USB Socket
Connect wires to your new USB wall socket following the manufacturer's instructions:
- Attach the black wire to the brass terminal
- Connect the white wire to the silver terminal
- Secure the ground wire to the green terminal
Ensure all connections are tight and no exposed wire is visible.
Step 5: Mount and Test
Carefully push the outlet into the box, secure with mounting screws, and attach the wall plate. Restore power and test both the AC outlets and USB ports.
Choosing the Right USB Wall Socket
When selecting your outlet, consider:
- Amperage: 2.4A ports charge devices faster
- Number of ports: Choose 2-4 USB ports based on needs
- Type: USB-A, USB-C, or combination ports
- Smart features: Some include surge protection
Installation Location Tips
Install USB sockets where you frequently charge devices:
- Near countertop workspaces
- Kitchen island outlets
- Coffee station areas
- Breakfast nook locations
Common Mistakes to Avoid
- Skipping the voltage test - Always verify power is off
- Loose wire connections - Ensure terminals are tight
- Overloading circuits - Don't exceed the circuit's capacity
- Ignoring local codes - Follow your area's electrical regulations
When to Call a Professional
While learning how to install a USB wall socket in the kitchen is valuable, some situations require expert help:
- Old or damaged wiring
- No existing outlet in desired location
- Uncertainty about circuit capacity
- Rental property restrictions
Ready to Upgrade Your Kitchen?
Installing a USB wall socket enhances your kitchen's functionality and modern convenience. For professional electrical services, we also offer expert assistance in Wadi Al Safa 4. Visit Electrical-repair Wadi Al Safa 4 for reliable solutions.
 USB socket, kitchen electrical, DIY, wall socket, charging
