


 DIY Electrical
How to Wire a Floor Lamp: Complete DIY Guide
 Michael Thompson
 Jul 26, 2026
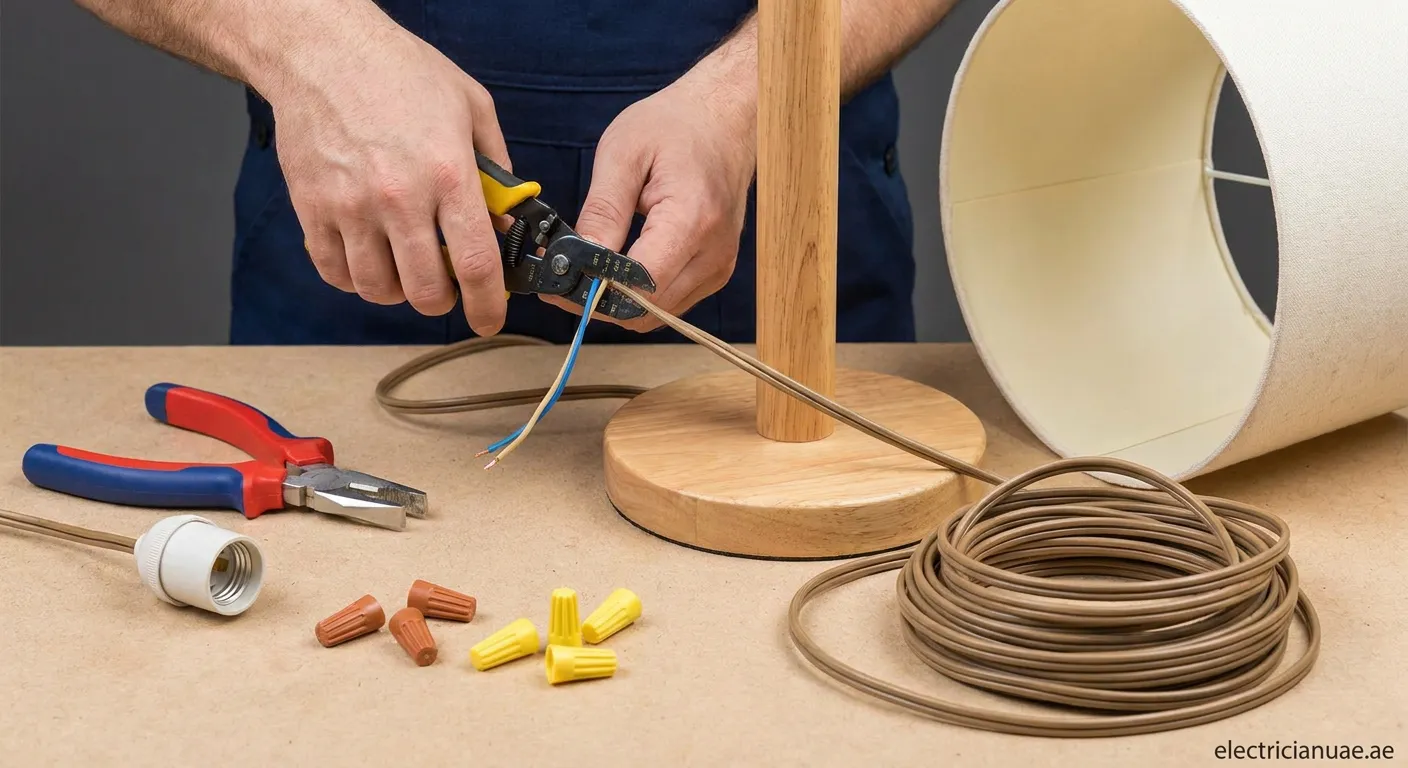
Learning how to wire a floor lamp empowers you to restore vintage fixtures or repair damaged cords without hiring professionals.
Understanding Floor Lamp Wiring Basics
Before diving into how to wire a floor lamp, it's essential to understand the basic components involved. A typical floor lamp consists of several key parts: the base, main body, socket, switch, cord, and plug. Each plays a vital role in delivering electricity safely to illuminate your space.
Tools and Materials You'll Need
To complete this project successfully, gather these essential tools:
- Wire strippers or wire cutters
- Screwdrivers (flathead and Phillips)
- Voltage tester for safety verification
- Electrical tape
- Replacement socket (if needed)
- New lamp cord (if replacing)
- Wire connectors or wire nuts
Step-by-Step Guide on How to Wire a Floor Lamp
Step 1: Disconnect Power Sources
Safety comes first when learning how to wire a floor lamp properly. Unplug the lamp from any electrical outlet before beginning work. If you're working on a hardwired fixture, turn off the circuit breaker controlling that circuit.
⚠️ Warning: Never attempt electrical work while fixtures are connected to power sources.
Step 2: Disassemble the Lamp Socket
Most floor lamps use a standard Edison socket that unscrews easily:
- Remove the light bulb and set aside safely
- Unscrew the socket shell from the cap
- Locate the interior socket where wires connect
- Note the wire colors: brass screw (hot/black wire) and silver screw (neutral/white wire)
Step 3: Inspect Existing Wiring
Examine all wires for damage, fraying, or corrosion. If wires appear brittle or damaged:
- Cut back to healthy wire using wire strippers
- Strip approximately 3/4 inch of insulation from each wire end
- Ensure copper strands are intact and clean
Step 4: Connect New Wiring
When rewiring a floor lamp:
- Thread the new cord through the lamp body
- Connect the hot wire (smooth insulation) to the brass terminal
- Connect the neutral wire (ribbed insulation) to the silver terminal
- Tighten screws securely without over-tightening
- Wrap connections with electrical tape for extra protection
Step 5: Reassemble and Test
Complete your floor lamp wiring project by:
- Carefully reposition wires inside the socket housing
- Screw the socket shell back onto the cap
- Install a light bulb of appropriate wattage
- Plug into outlet and test operation
- Check switch functionality if applicable
Wrapping Up Your Project
Now that you know how to wire a floor lamp, you can tackle this project with confidence. Remember to always prioritize safety and double-check connections before restoring power. If you encounter complex issues or need professional assistance, our experts at Light-fixing Wadi Al Safa 7 are ready to help with any lighting repairs.
 floor lamp wiring, DIY electrical, lamp repair, home lighting
